How to Network Unlock your iPhone 15 Series – Say Goodbye to “Unable to Activate eSIM
Are you a proud owner of an iPhone 15, iPhone 15 Plus, or iPhone 15 Pro Max, but you feel limited by your carrier’s network? If you’re looking to unlock your iPhone 15 series and enjoy the freedom to choose your network, this guide is here to help. We’ll also address the common issue of “Unable to Activate eSIM.”
Requirements to Network Unlock your iPhone 15 Series:
- Activated iPhone 15 Series: Ensure your iPhone 15, iPhone 15 Plus, or iPhone 15 Pro Max is fully activated and you can access the home screen and settings.
- Network Unlock Request: You should have a network unlock request in progress, either through your original carrier or a trusted third-party service.
- Access to Wi-Fi: Make sure you have access to a stable Wi-Fi connection during this process.
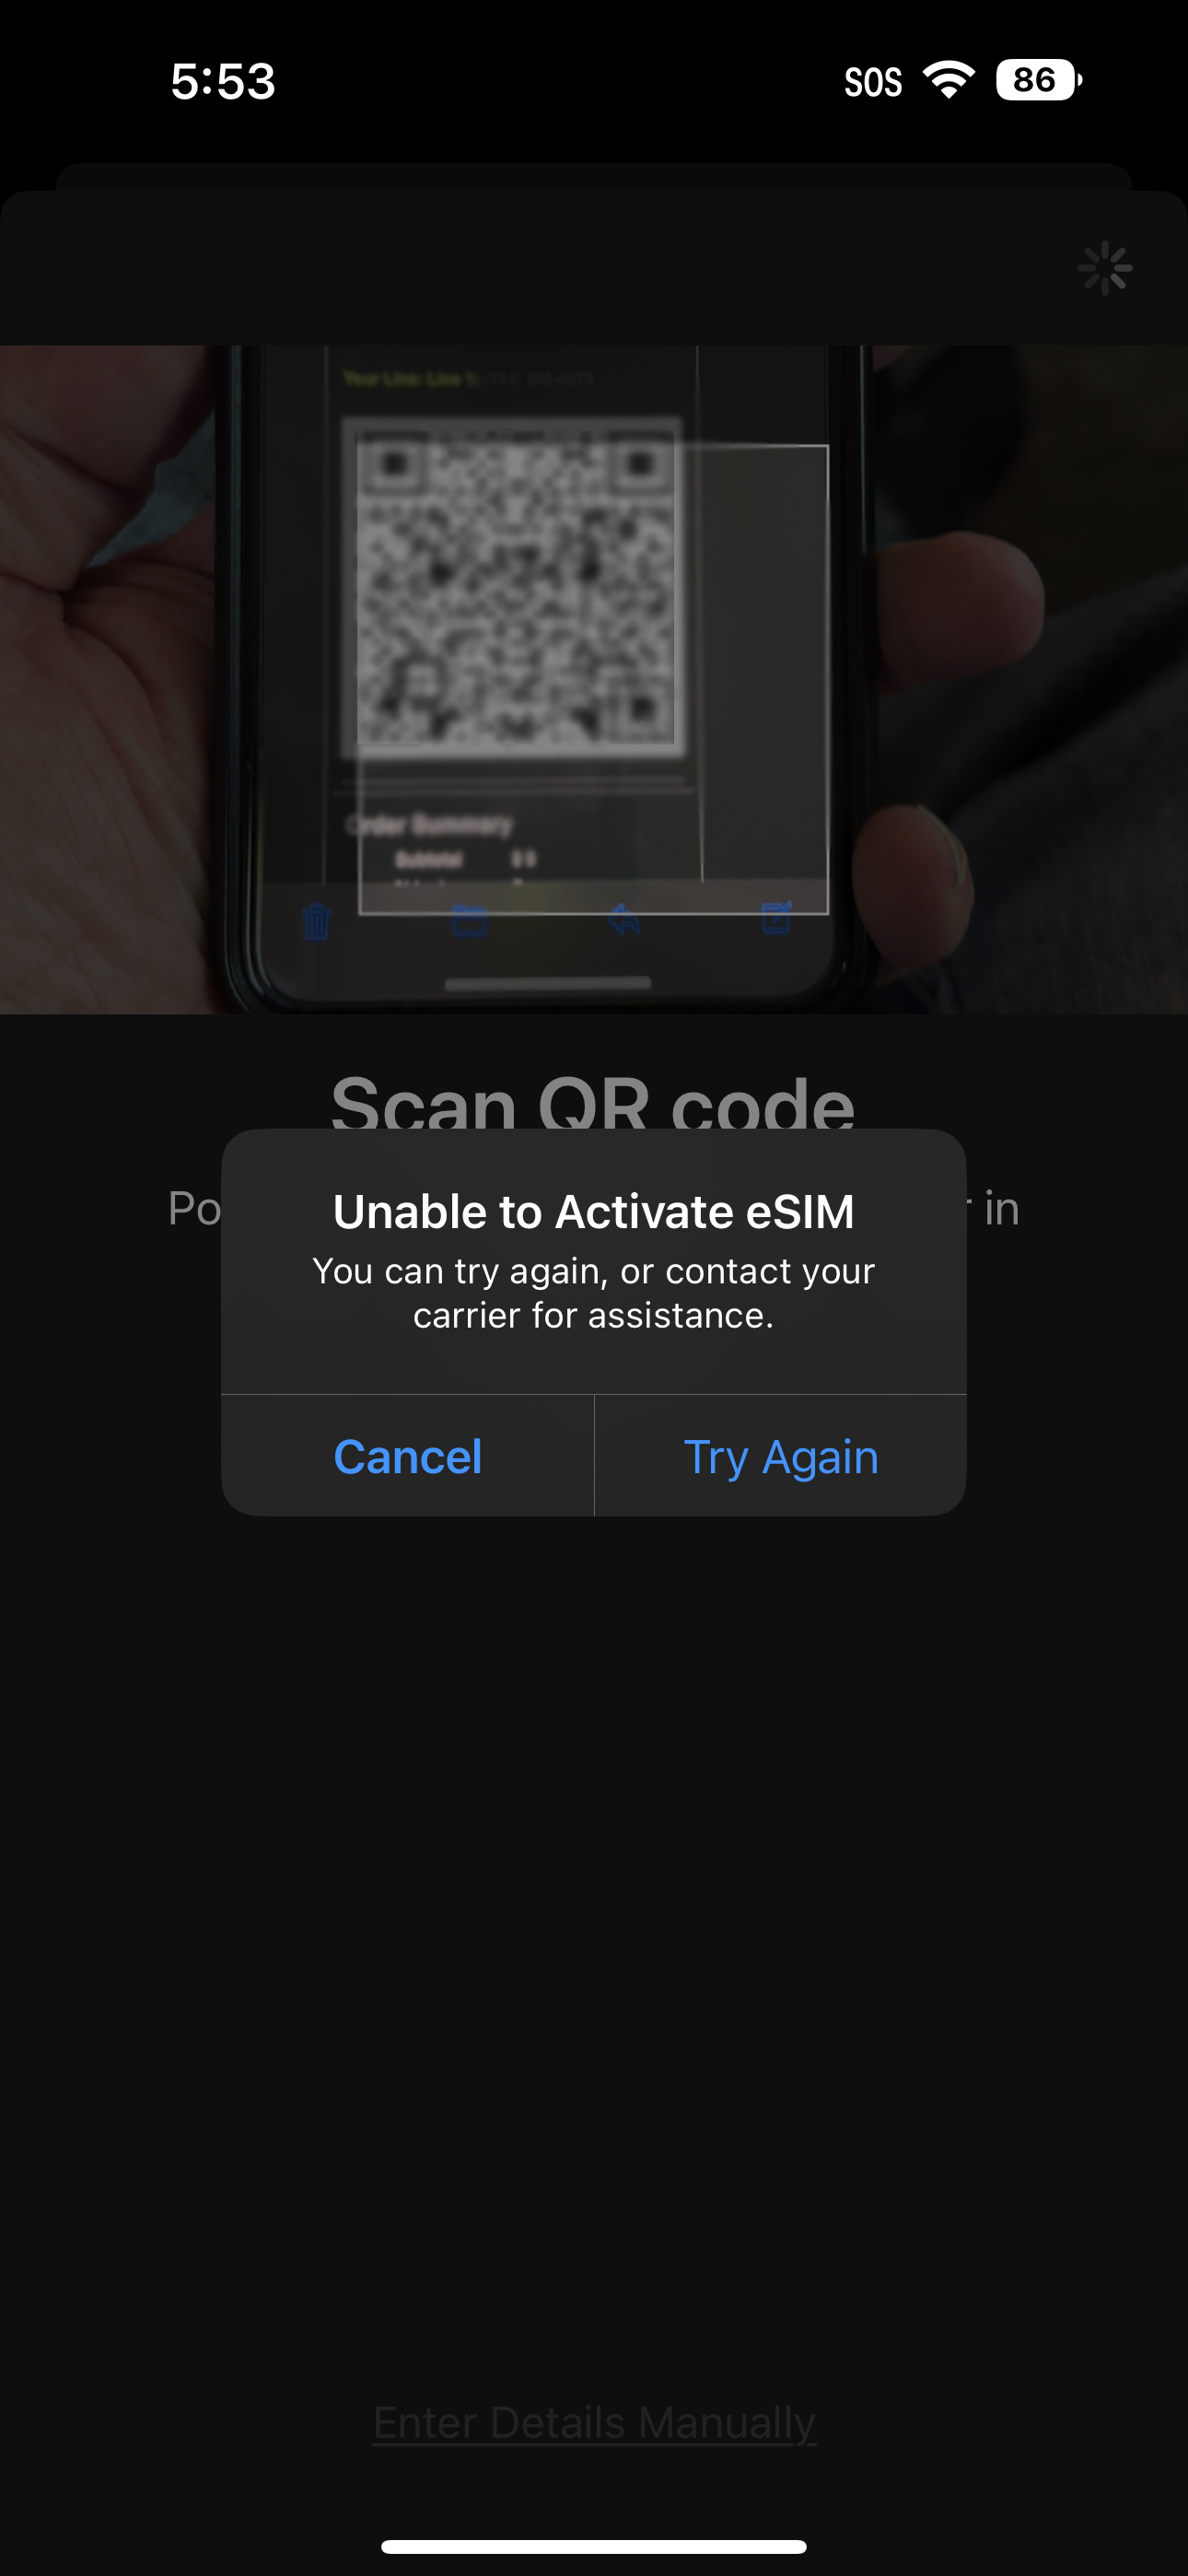
To initiate a network unlock request, you can contact your original carrier or choose a reliable third-party company like Cellunlocker.net. It’s important to note that network unlocking for the iPhone 15 series differs from other devices, as it doesn’t involve traditional unlock codes. Instead, these iPhones use eSIM technology, and network-locked devices may display the “Unable to Activate eSIM” message.
Unlocking for the iPhone 15 Series involves server-based processes and registration on Apple’s systems, as detailed on Apple’s support site: Apple’s Guide.
Instructions to Unlock iPhone 15 Series
- Network Unlock Request: Before proceeding, ensure you have requested a network unlock from your original carrier or a reputable third-party service.
- Access Settings: Once the unlock process is complete, navigate to Settings.
- Set Up Cellular: Select “Set Up Cellular” from the menu.
- Choose Unlock Method: You will be presented with two options: “Transfer From Nearby iPhone” or “Use QR Code” (which you can obtain from your new carrier). If you’re transferring from another iPhone, select “Transfer” and follow the on-screen instructions.
- Alternatively, choose “Use QR Code” and scan the QR code provided by your new carrier, or select “Enter Details Manually.” Once completed, your iPhone 15 Series should be ready to work with your new carrier.
It’s important to note that if your iPhone is blacklisted, it may not work with certain carriers in the USA or North America. A blacklisted device is one that the carrier has blocked, usually due to it being reported as lost, stolen, or having unpaid bills. However, the device may still work with carriers overseas, as these carriers do not share the same blacklists.
You can check for free the blacklist status of your device using websites like:
Stolen Phone Checker for USA
Device Check for Canada
Troubleshooting
1. “I unlocked the phone, but it’s not connecting to my network.”
Ensure that the service provider you’re trying to use is compatible with your iPhone 15 Series. If compatibility is confirmed and you’re still experiencing issues, try performing a backup and restore of your device.
2. “I unlocked the phone, but I’m unable to use data or send/receive MMS.”
To resolve this, you may need to adjust the Access Point Name (APN) settings. APN settings can vary depending on your service provider. Contact your new service provider, and they will guide you through the setup process. It’s important to note that there is no separate unlock for data/internet or MMS. If you can make calls or send texts, your phone’s network is fully unlocked.
Unlocking your iPhone 15 Series gives you the freedom to choose your network and enjoy the full potential of your device. Make sure to follow the steps and troubleshoot as needed to ensure a seamless transition to your new carrier. Enjoy your unlocked iPhone 15 Series!
Check out our popular Unlocking services
- Unlock iPhone – All Models
- Unlock Samsung Devices by Unlock Code
- Unlock T-Mobile Devices with the Unlock App
- Unlock majority of Cricket Phones
- Unlock All ATT Networks and Models: Unlock ATT
- Unlock Samsung Google/FRP Account Removal
- Unlock Google Pixel/FRP Account Removal
iPhone 15 Series Latest updates
- 2023: About iOS 17 Updates: iOS 17 brings big updates to Phone, Messages, and FaceTime, including StandBy, AirDrop with NameDrop, and enhancements to the keyboard.